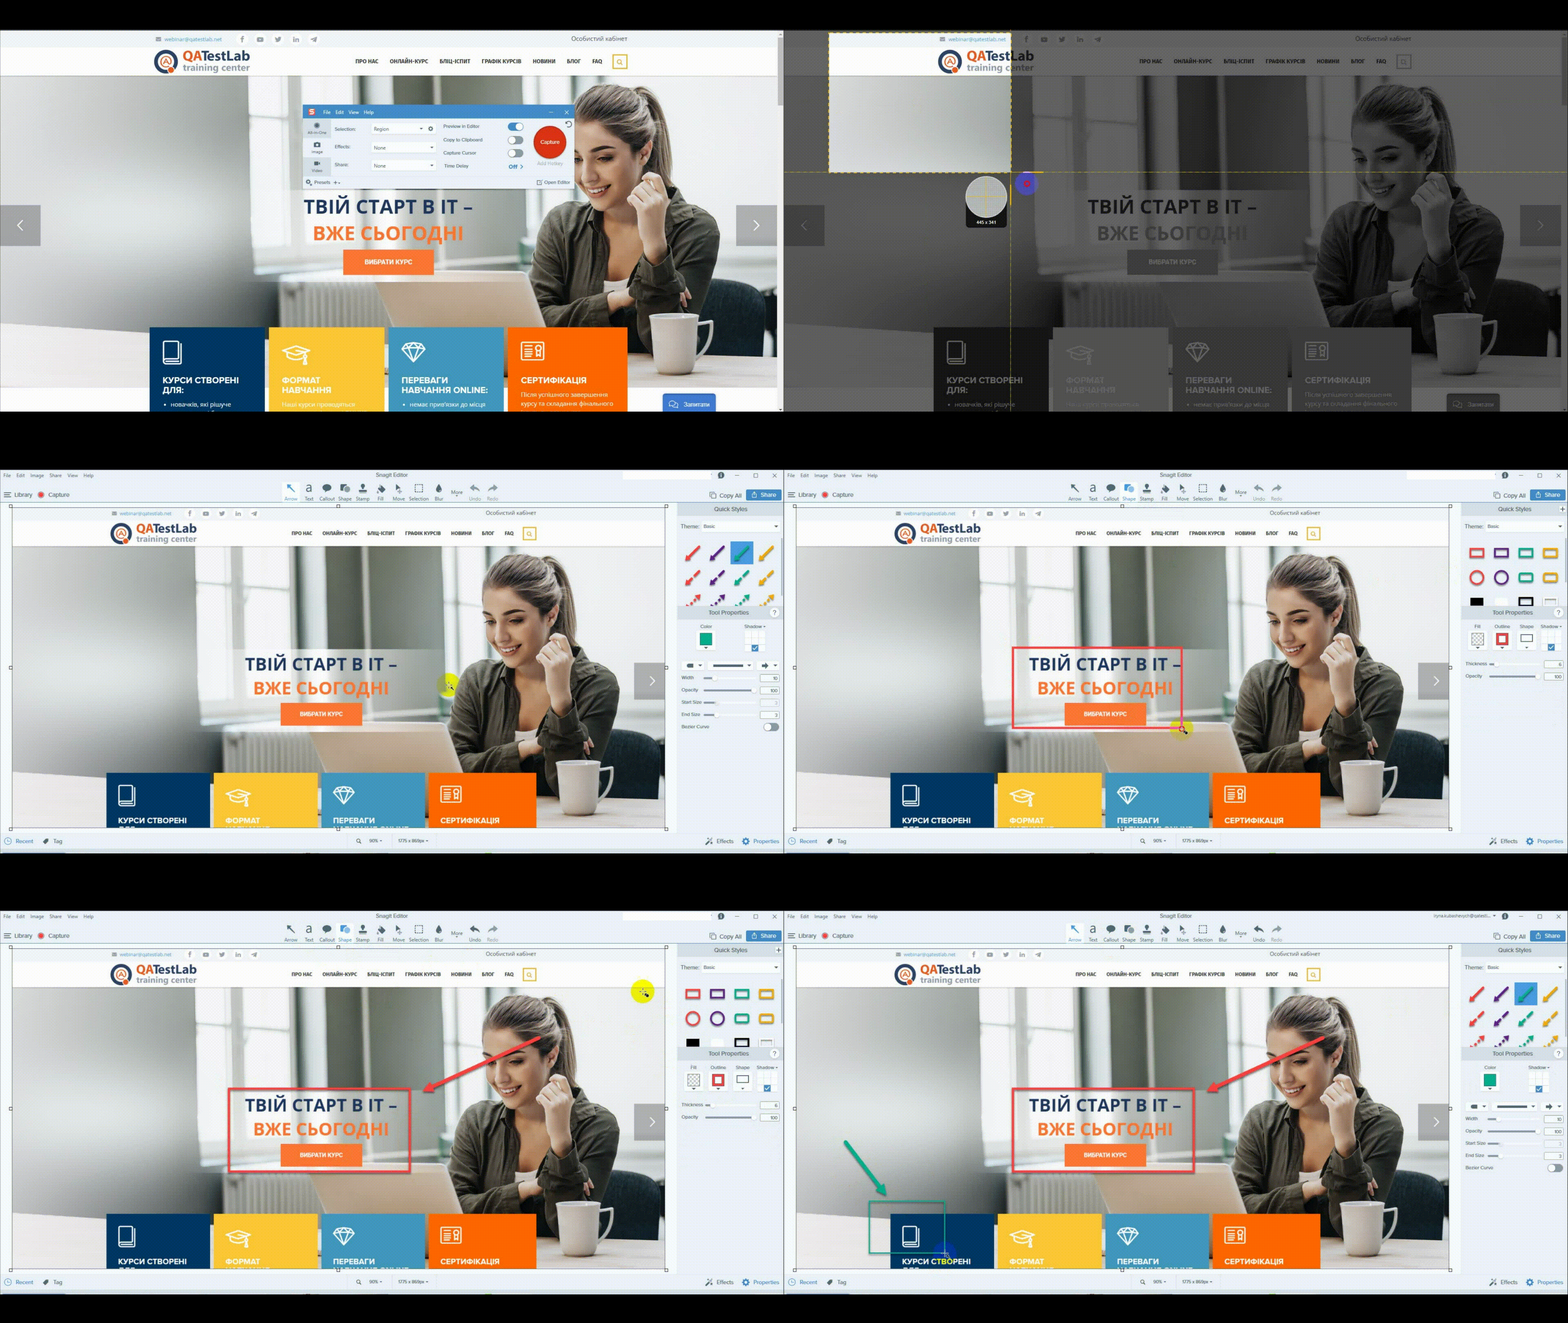
You have probably already read our article about screenshot tools. In that article, we discussed the main programs for taking screenshots, including their main features. This article will cover the basics of how to work with each of these programs. You will learn how to add a rectangle and an arrow to a screenshot, how to show the mouse pointer, how to take a combined screenshot, how to trim a video, and several other useful features.
Screenshots and video in tester’s work
- 05.07.2023
- Posted by: Admin

Snagit
Let's start with such a tool for taking screenshots as Snagit. First, we are going to look at the program's interface.
Snagit
The place highlighted with a green rectangle is the one where you can select a hotkey, pressing which will open the program (the condition is that the program is already running). The button responsible for displaying the cursor on the screenshot is highlighted with a yellow rectangle, and the drop-down menu highlighted in red allows you to choose the type of screenshot (the entire window or, for example, only a part of it).
Here's what the process of taking a screenshot in Snagit looks like.
The process of taking a screenshot in Snagit
The same is true for video recording, and additional features include sound and camera recording.
The process of recording video with sound in Snagit
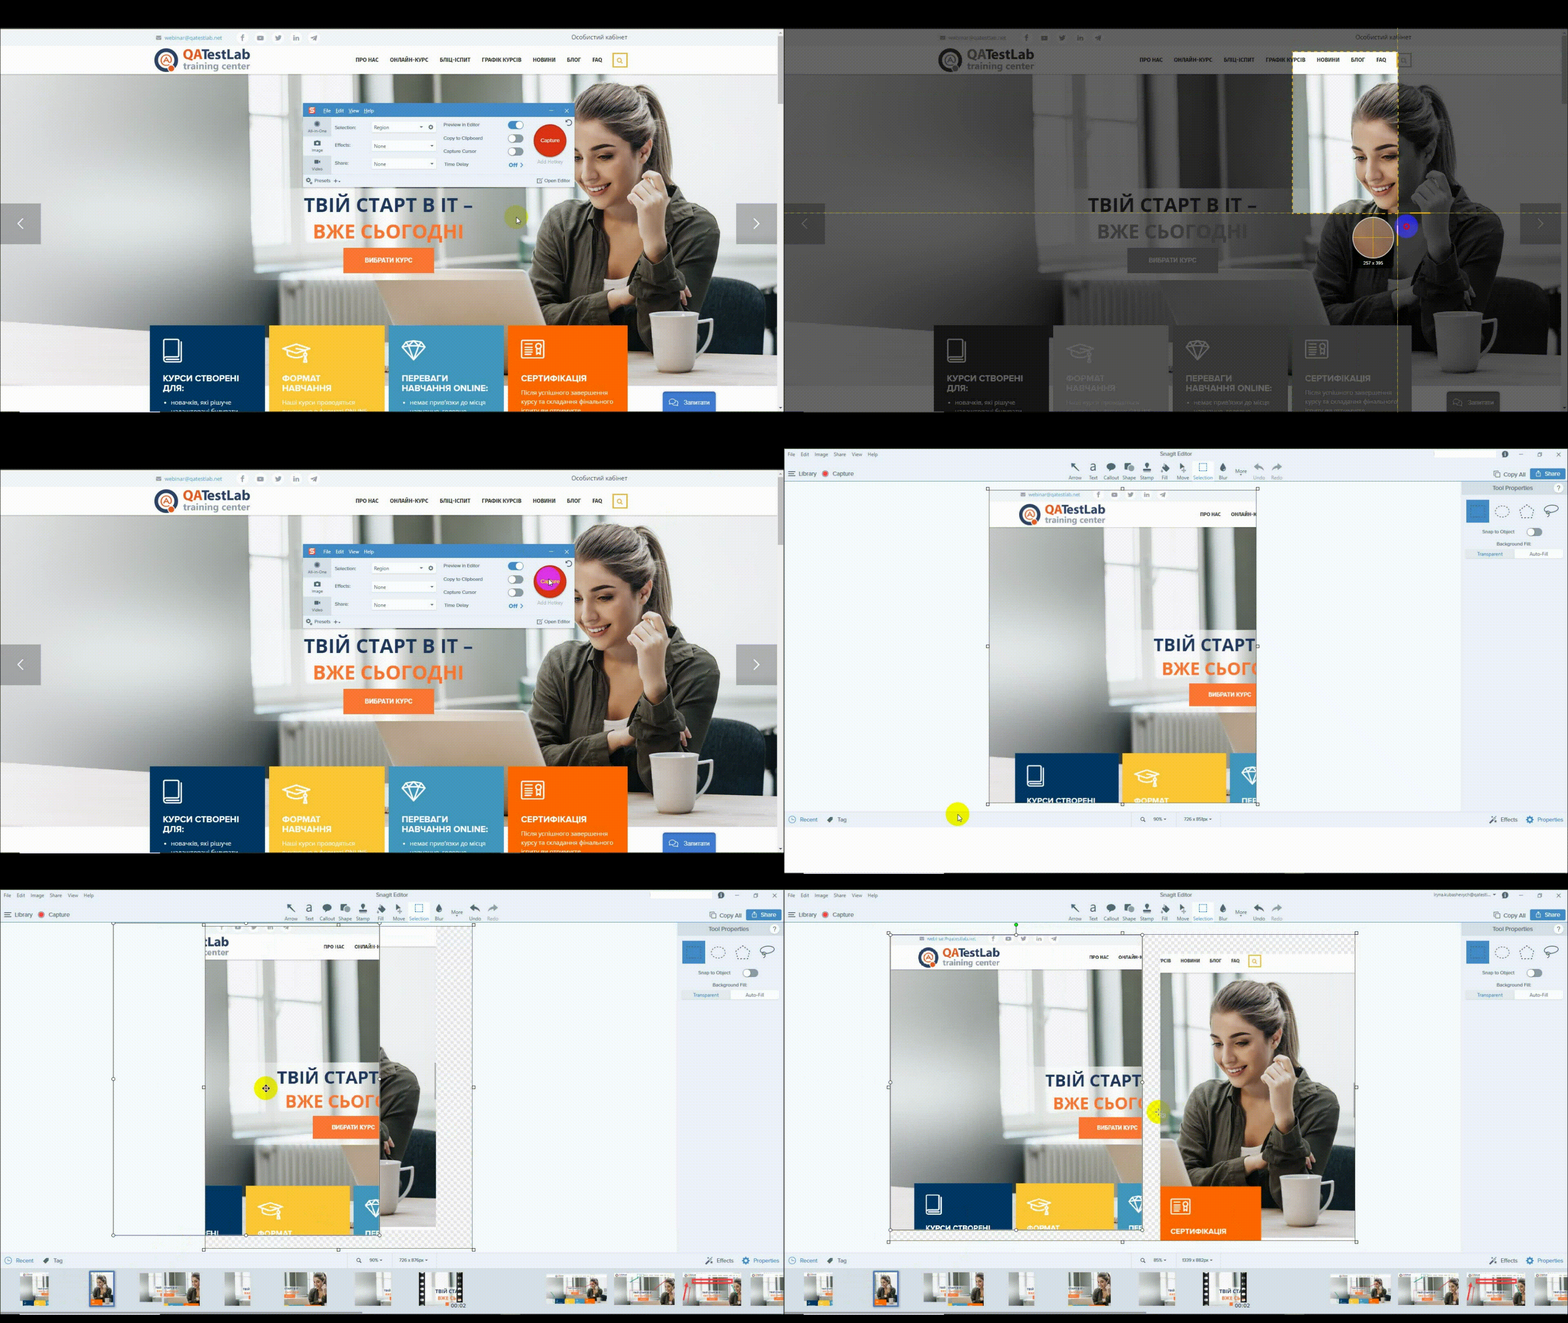
To create a combined screenshot, one should take one screenshot (the image is automatically saved in the editor) and then take a second screenshot. Inside the editor, it is necessary to copy one image and paste it into the other. This way, you will combine two images into one. For a better understanding, see the gif file below.
Create a combined screenshot in Snagit
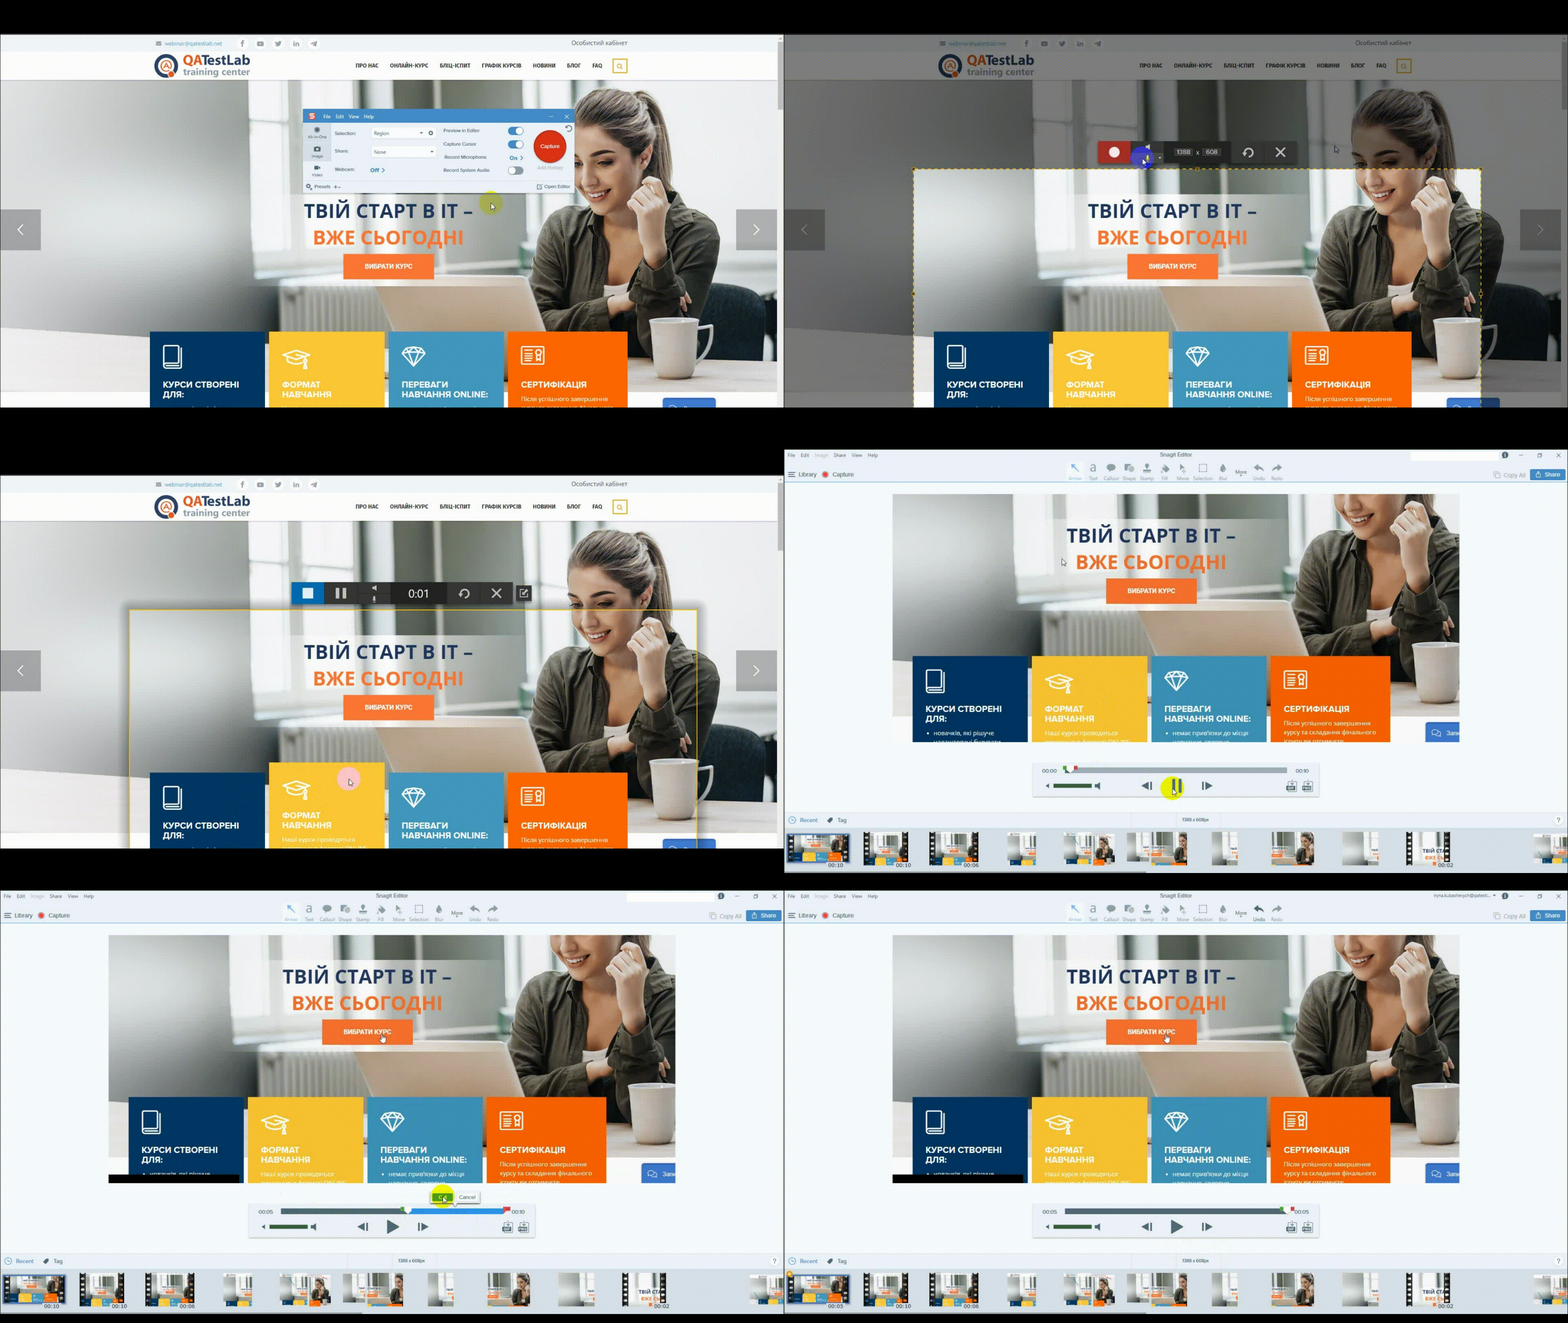
Now let's look at the process of creating and editing video. In the main menu of Snagit, select the “Video” tab and click the “Capture” button. Next, select the area you want to capture on video, enable or disable sound recording, and click the start button. After the countdown starts, the screen recording will begin. After the recording stops, the video will automatically open in the editor, where you can cut out the unnecessary part of the video.
See the attached gif for a better understanding.
Creating and editing videos in Snagit
Movavi Screen Capture
The next program we will look at is Movavi Screen Capture.
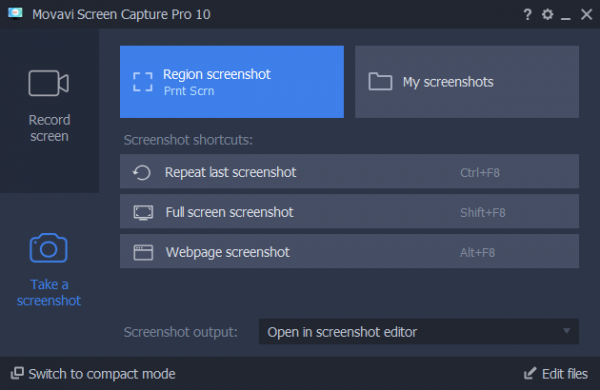
Movavi Screen Capture
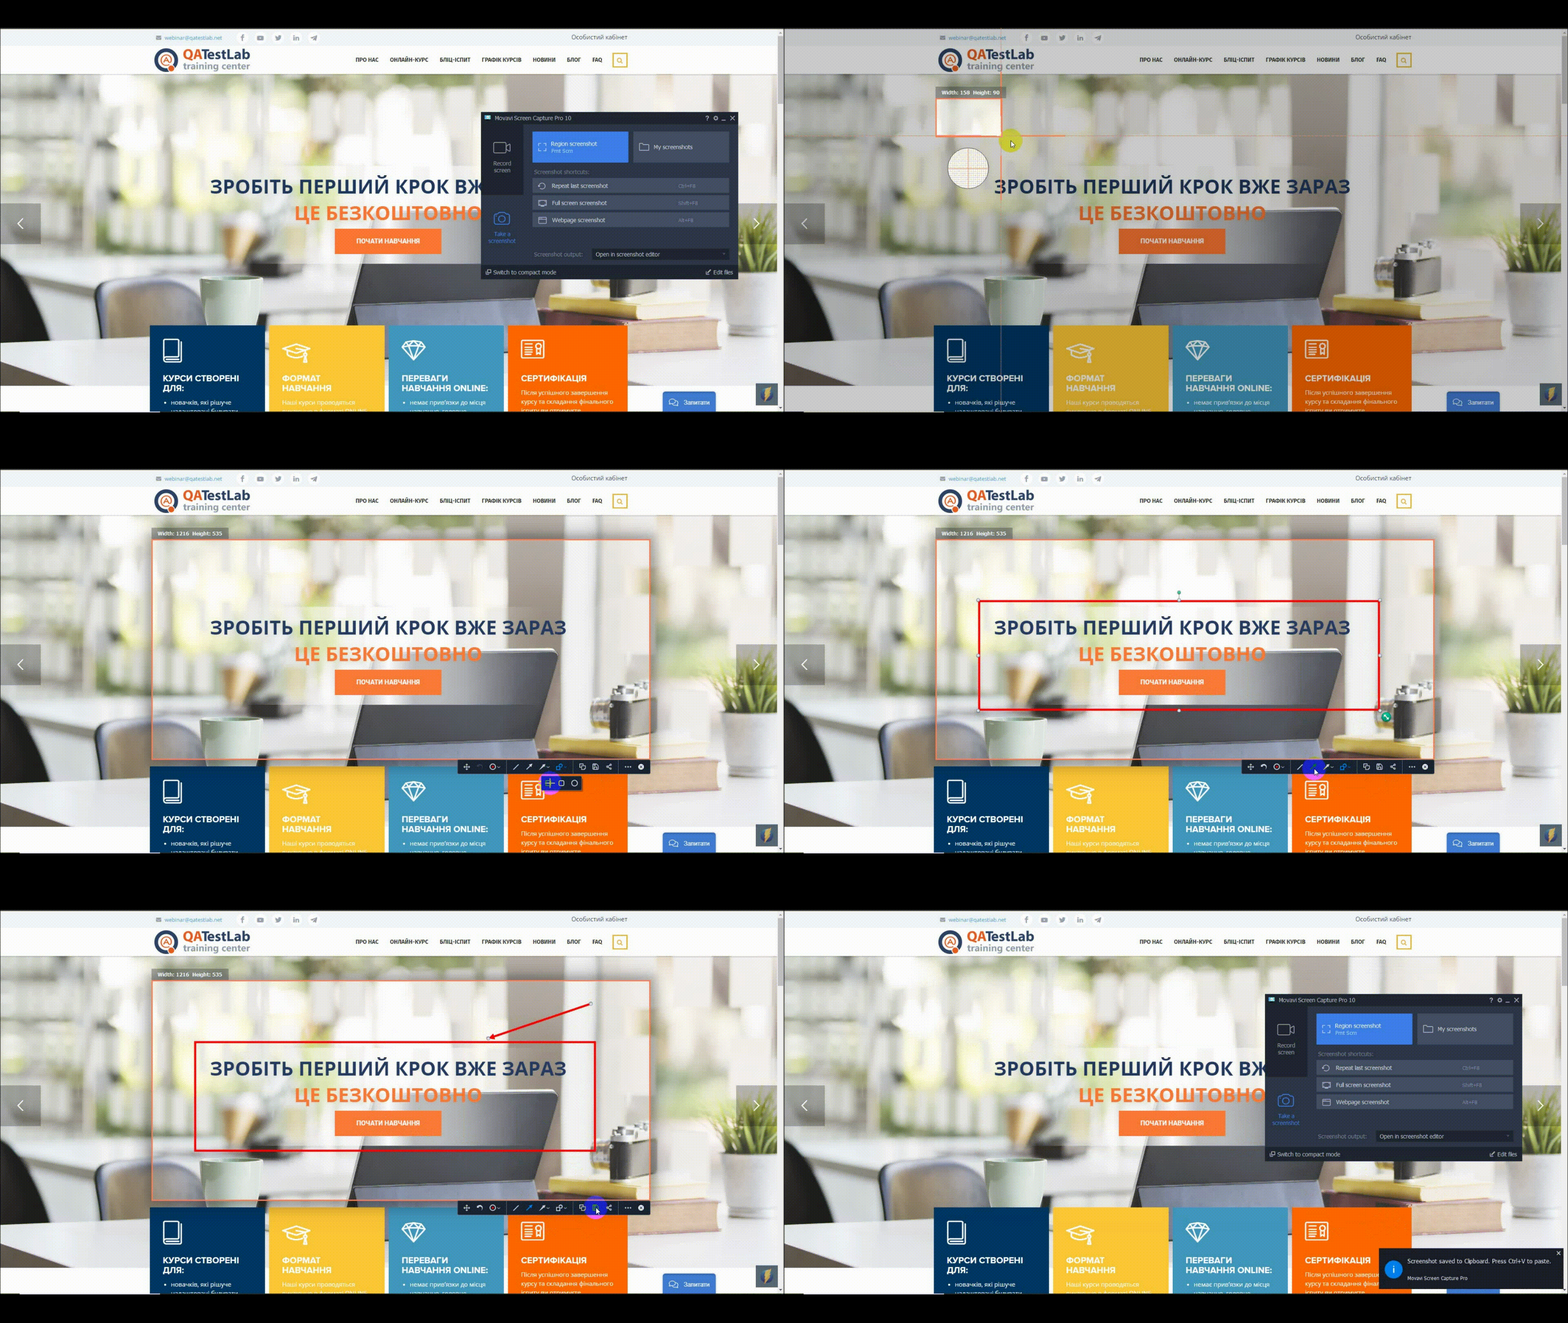
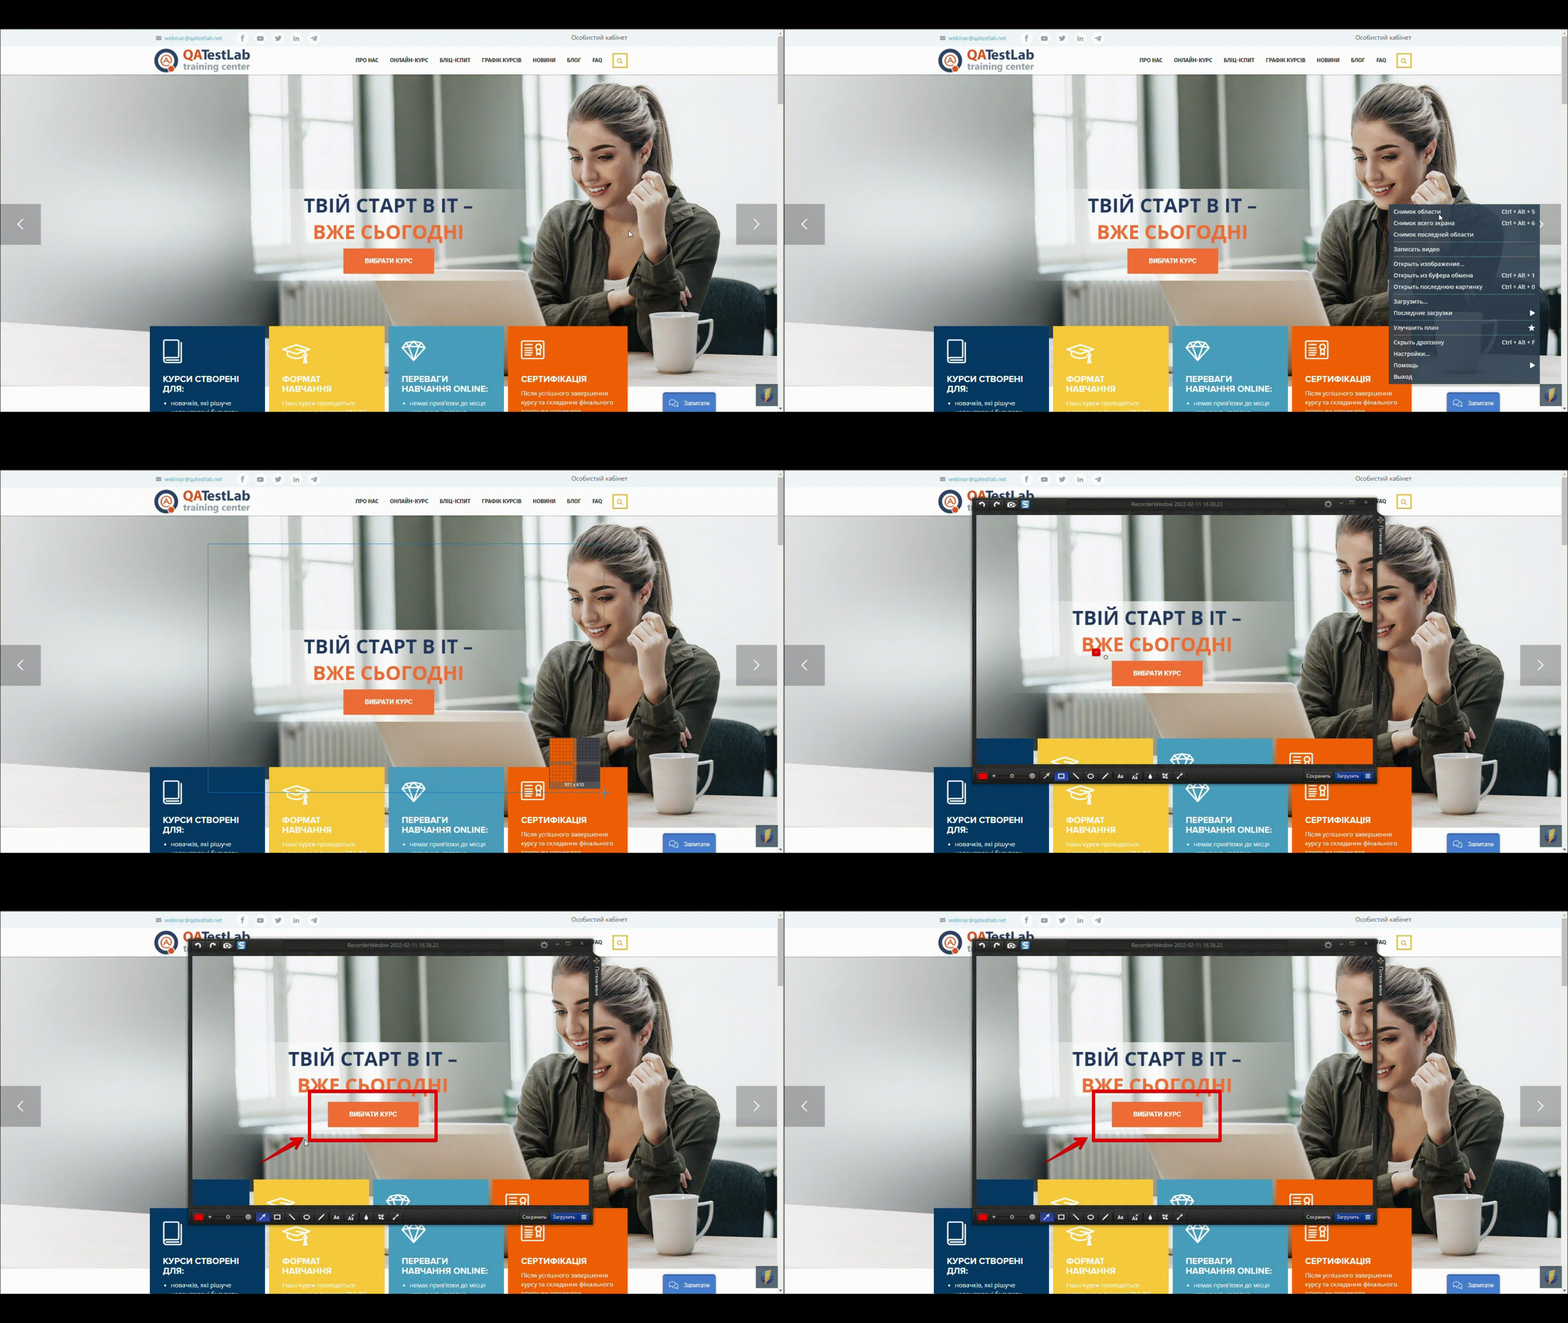
The program is also quite easy to use. In order to take a screenshot, one needs to select the «Take a screenshot» tab in the main menu, and then «Region screenshot» (to take a screenshot of a specific part of the screen) or «Full-screen screenshot» (to take a screenshot of the entire screen). Next, it is necessary to select a place on the screen, add the required elements (rectangle, arrow, etc.) and save or copy the image to the clipboard. This is the process of creating a screenshot in Movavi Screen Capture.
Creating a screenshot in Movavi Screen Capture
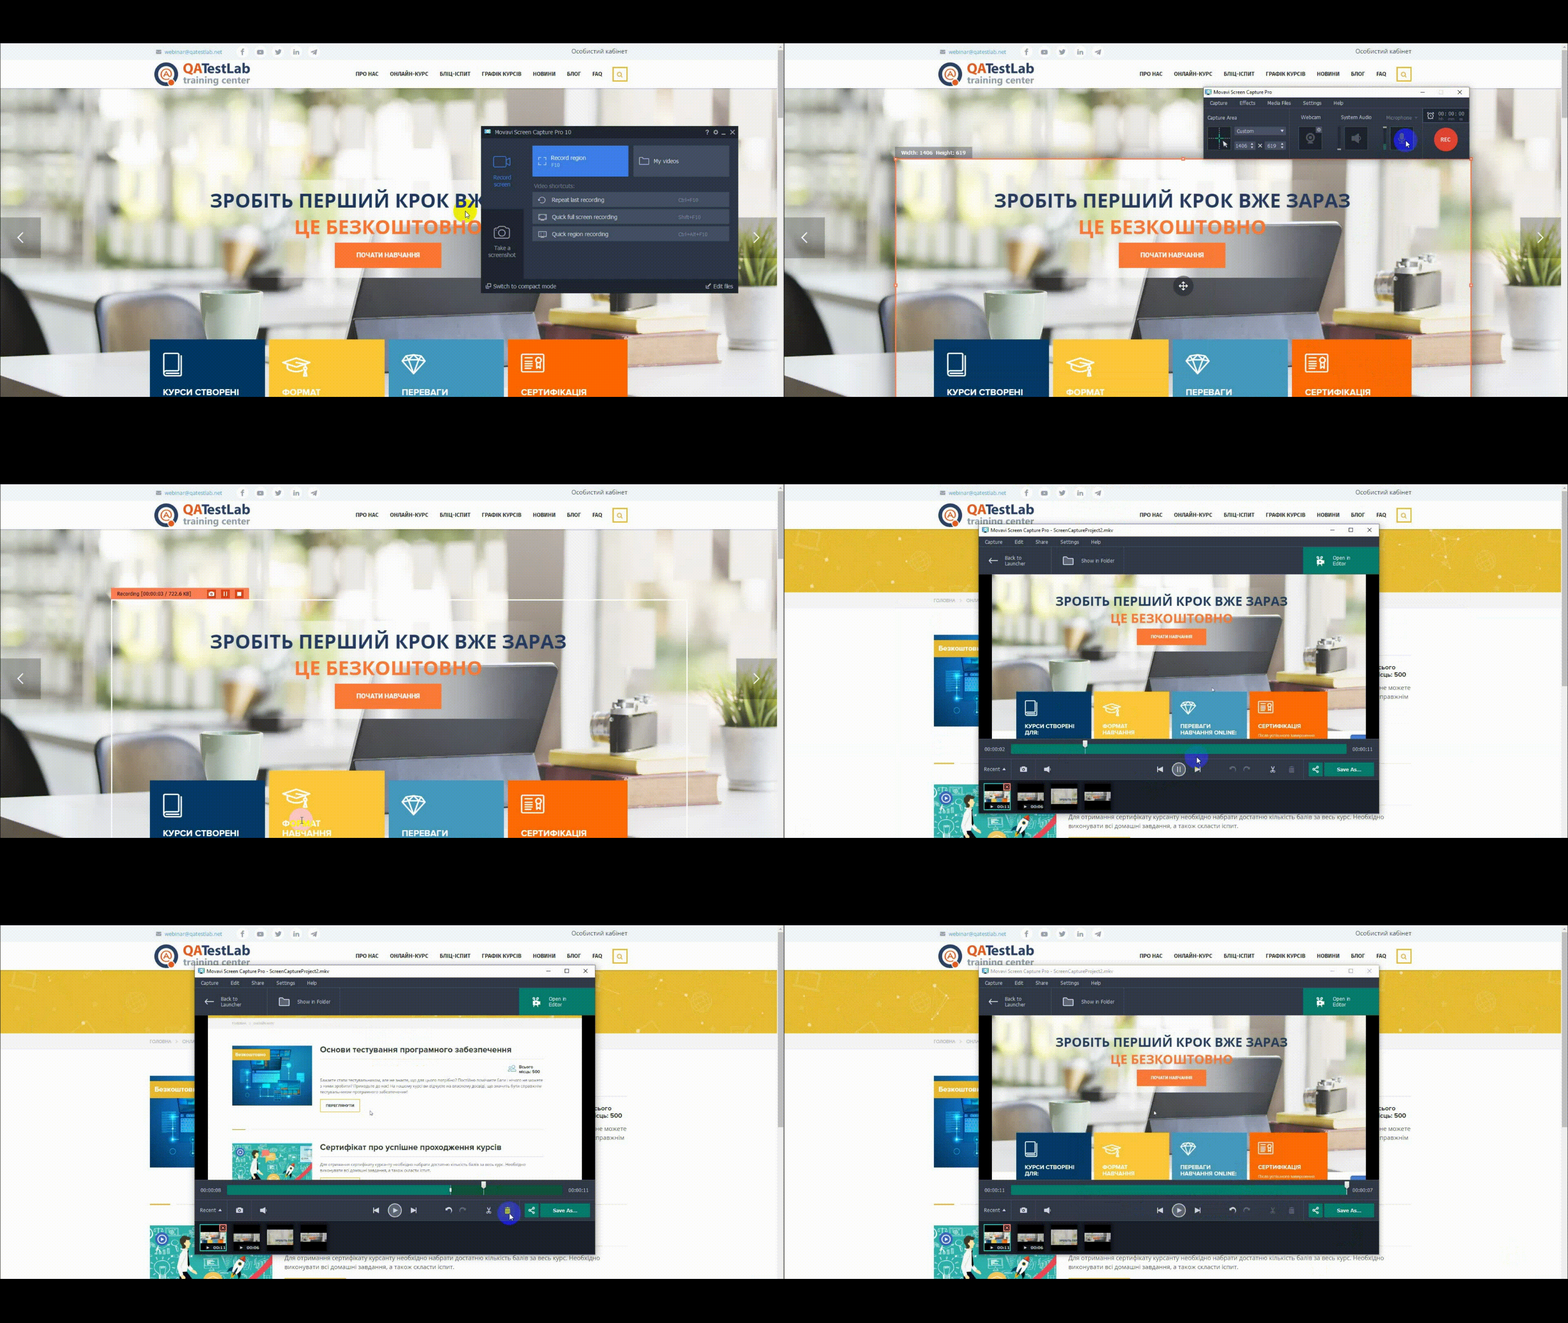
To record a video, click the «Record video» tab, then «Record region» and select the needed location on the screen for recording. After that, a menu will appear where one can enable/disable audio and camera recording. The resulting video can be edited and saved in the desired quality and format. Below you can see how to record a video in Movavi Screen Capture.
Recording video in Movavi Screen Capture
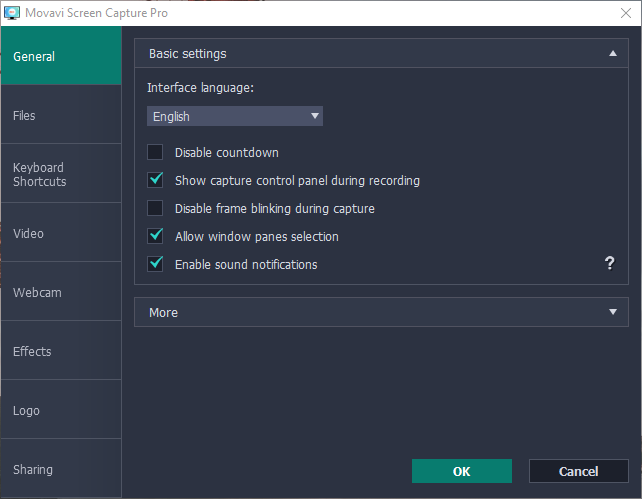
In the settings menu, users can also find many additional features that will make the process of taking screenshots more convenient.
Additional useful functions of Movavi Screen Capture
TechSmith Capture
The next program is TechSmith Capture.
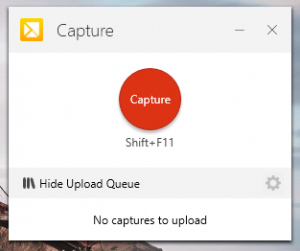
TechSmith Capture
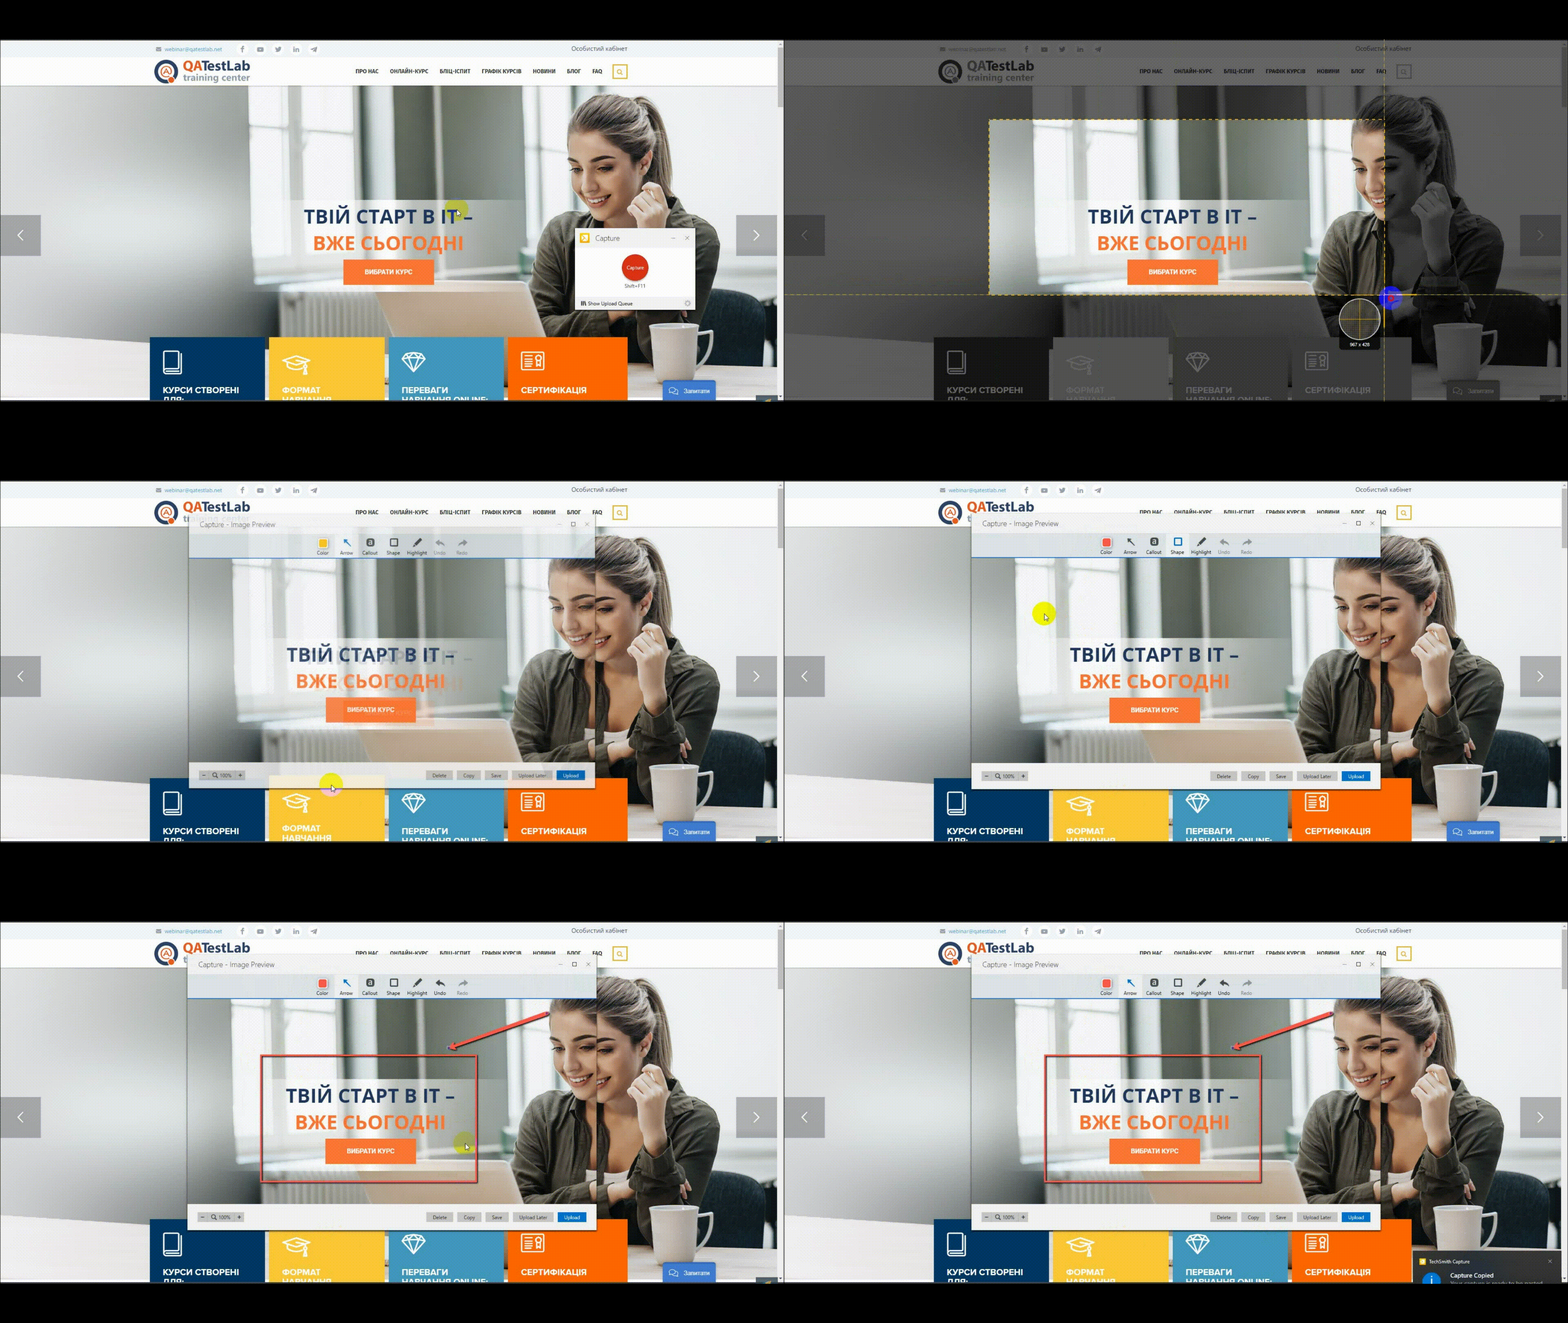
To take a screenshot, click on the red «Capture» button, then select the desired location on the screen and choose the recording option (screenshot or video). After that, an editor will automatically open where you can add the necessary elements and save the image.
Here is the process of taking a screenshot.
Creating a screenshot in TechSmith Capture
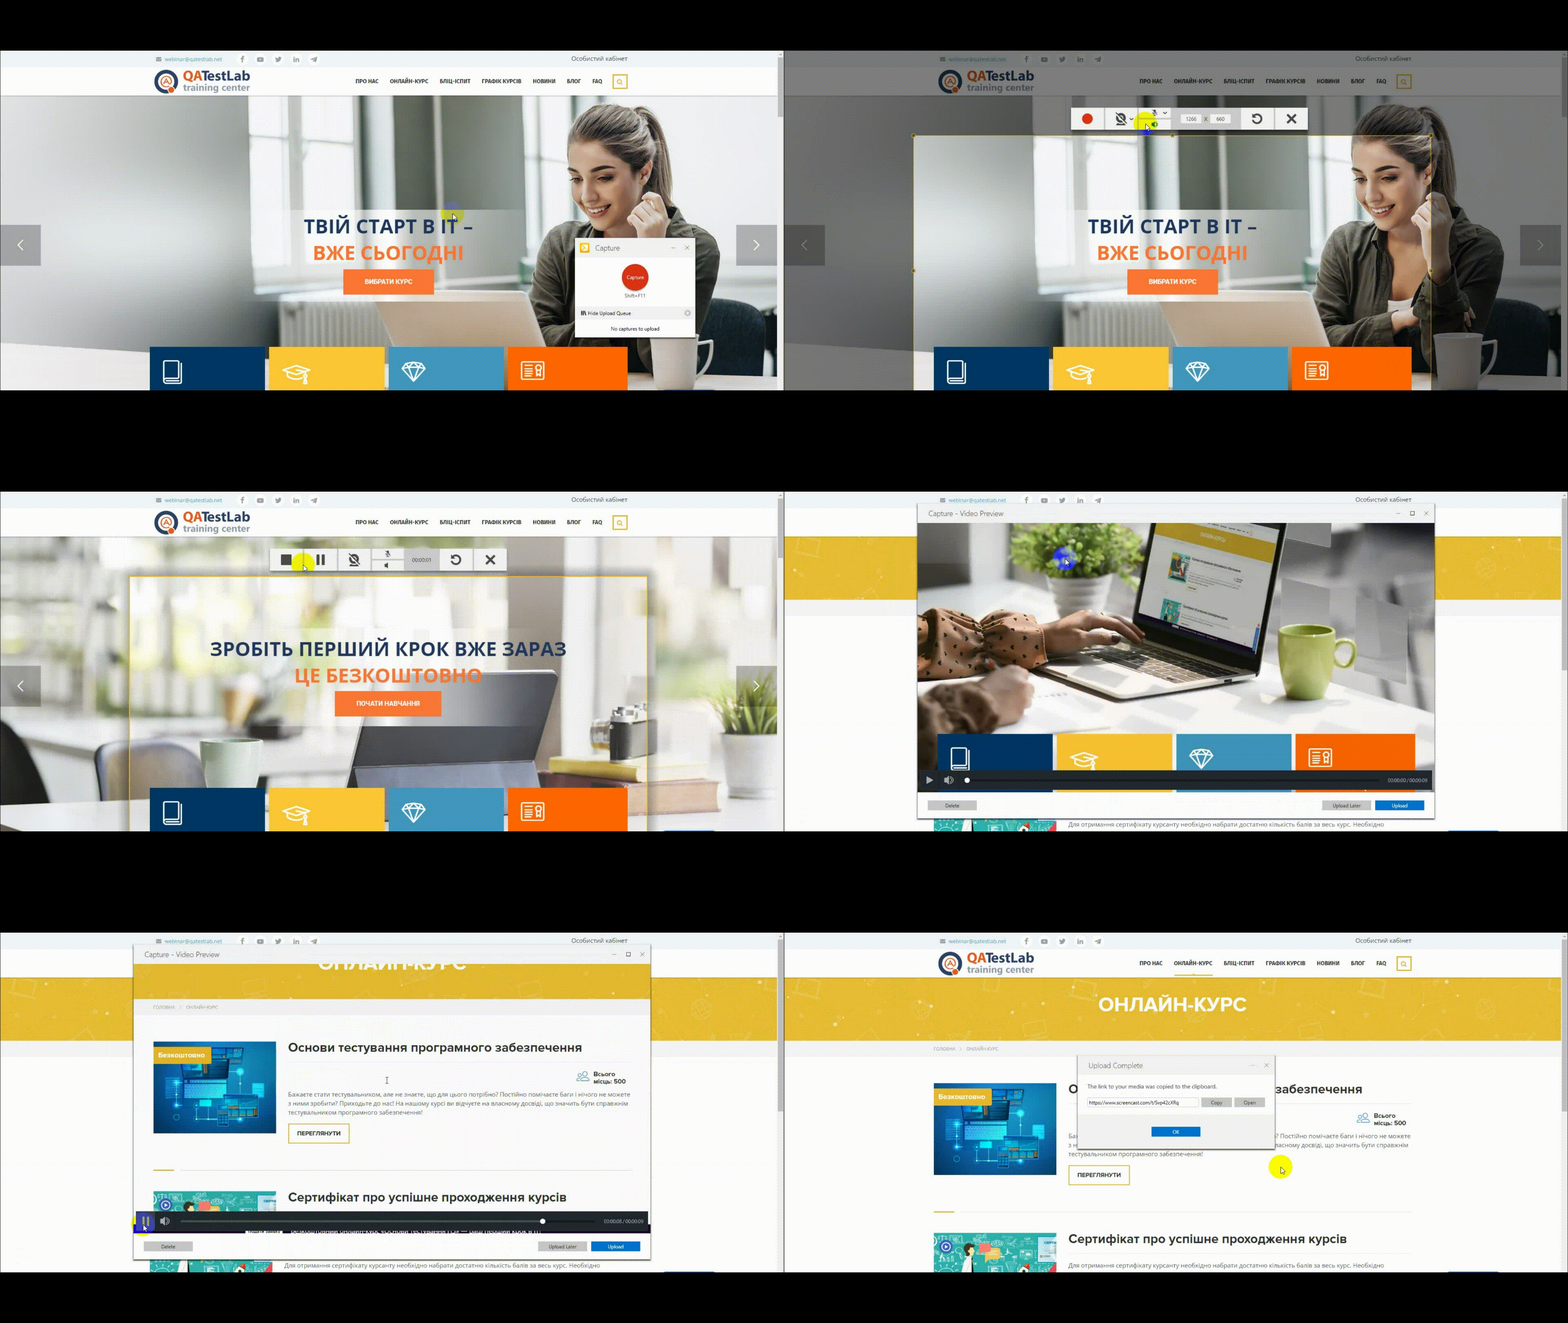
The process of capturing video is similar to other programs, but the video editing feature is missing.
Recording video in TechSmith Capture
FastStone Capture
FastStone Capture
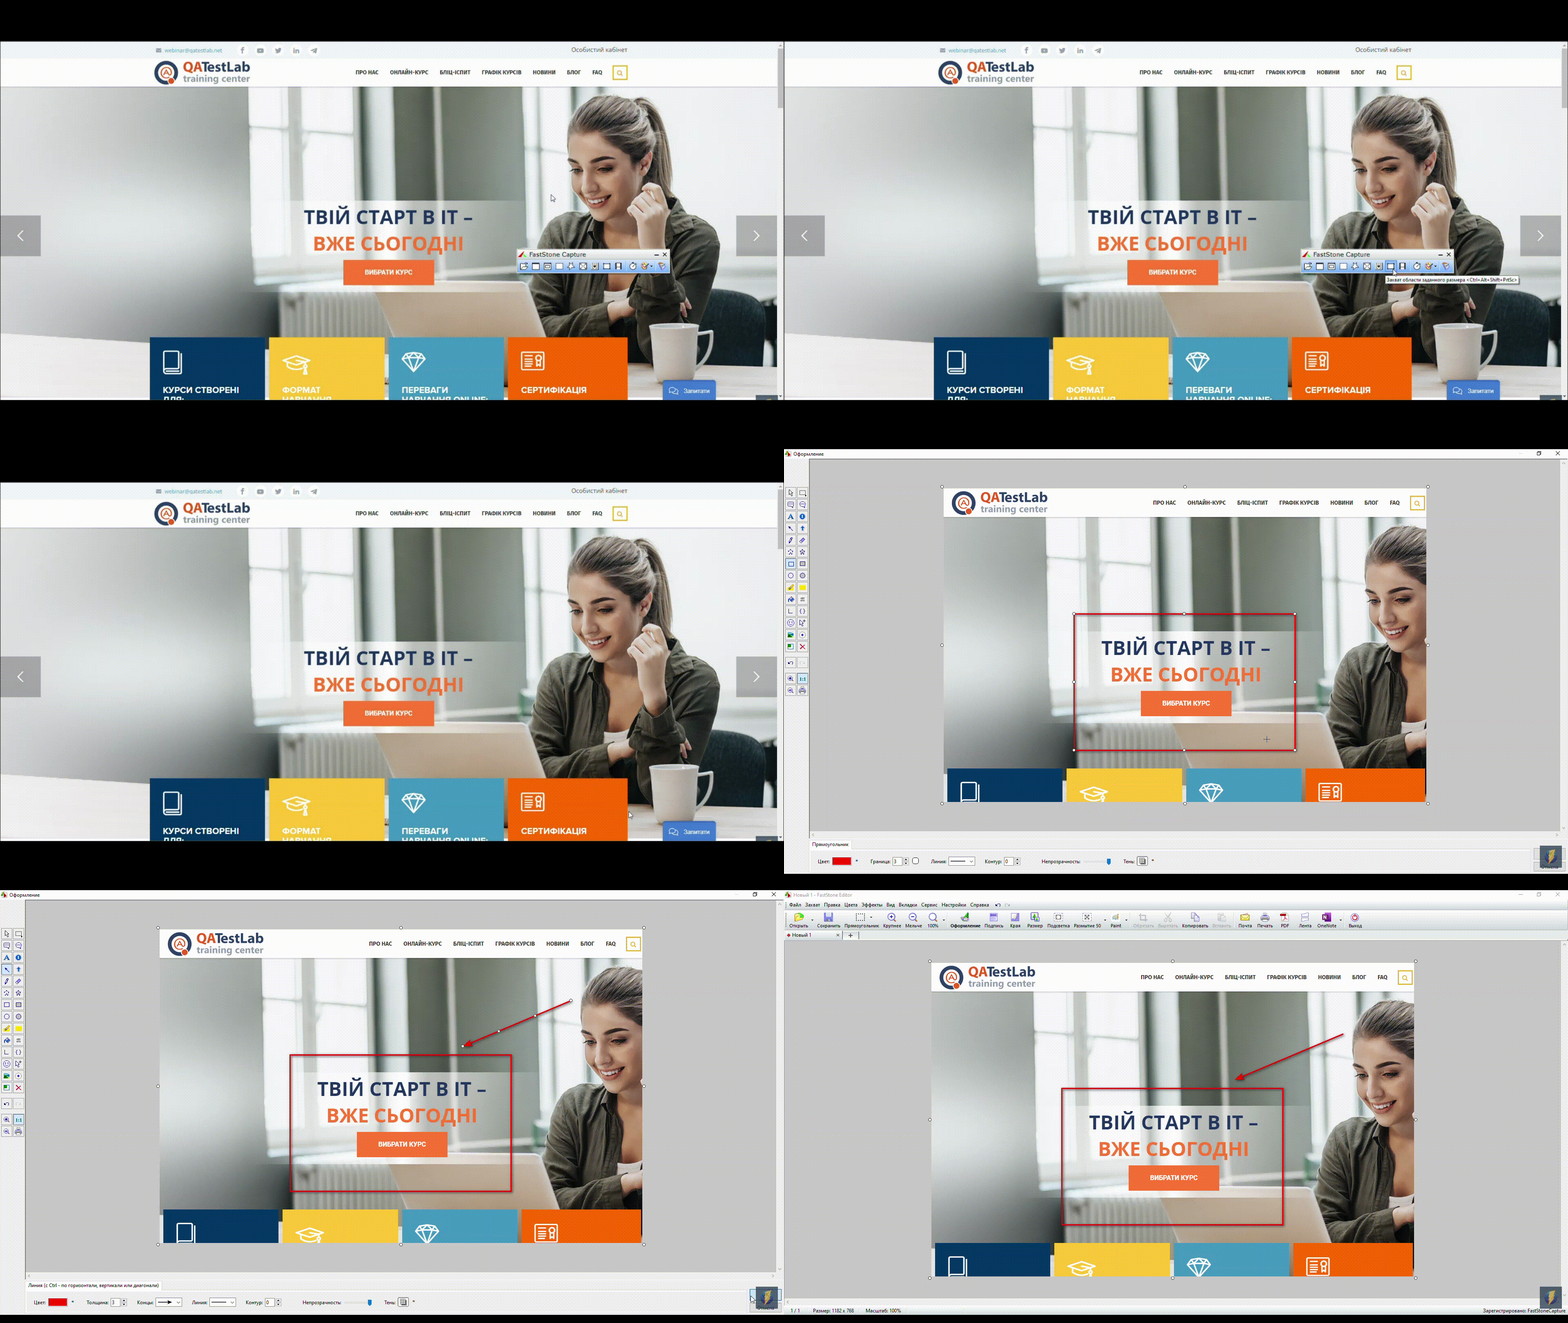
FastStone Capture has a simple main panel where one can select the type of screenshot: capture the entire screen, capture a specific part of the screen, capture the screen with scrolling, etc.
All it takes is to choose the desired type and the place which needs to be captured. After that, the image will be opened in the editor, where it can be edited and all the necessary elements can be added. Here's how it works.
Creating a screenshot in FastStone Capture
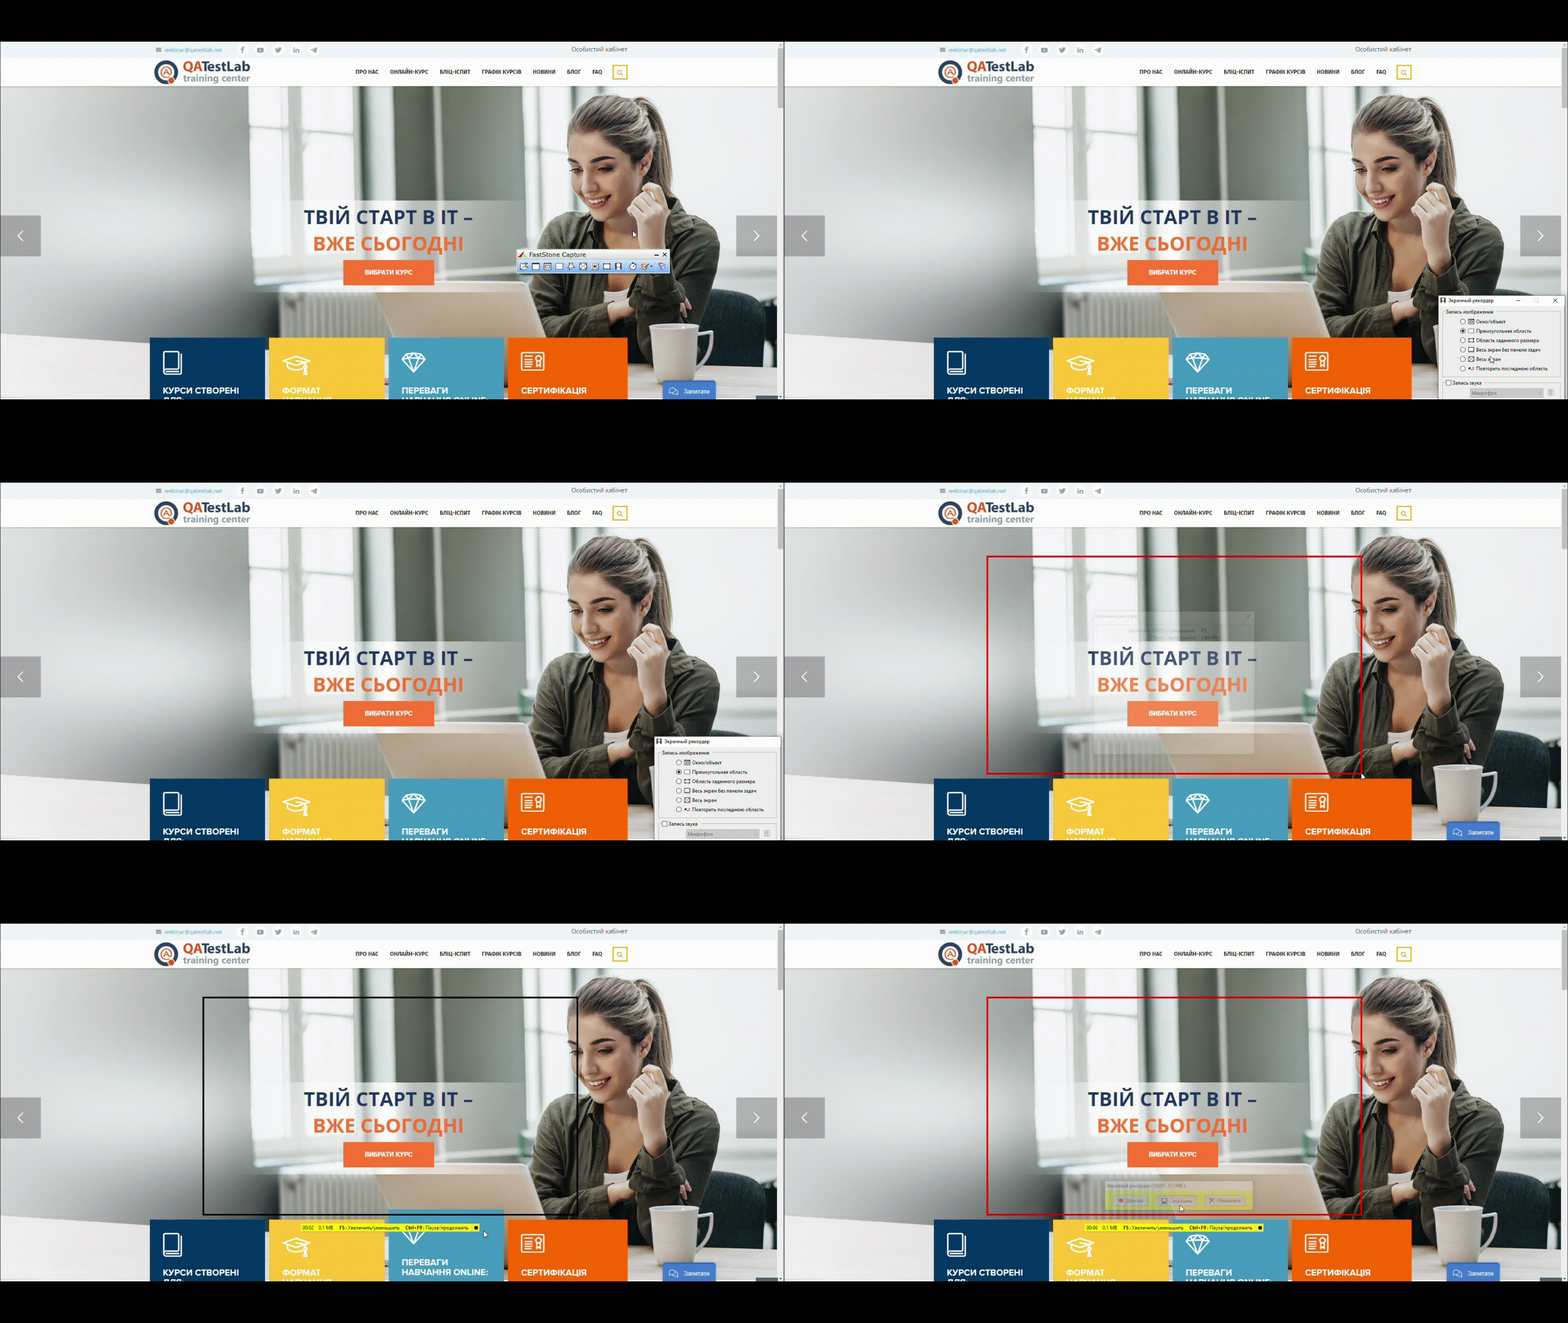
When it comes to video, the situation is similar. We can also select the type of screen capture, then choose the desired location and click the Start button. After the recording is complete, the video can be saved.
Recording video in FastStone Capture
Monosnap
Next, let's take a look at Monosnap.
In order to take a screenshot in Monosnap, one needs to click on the program icon in the lower right corner of the screen (it will appear after installing the program) and select the required type of screenshot. Next, you need to select the desired location on the screen, and then the editor will appear, where the necessary elements can be added. After editing, the screenshot can be saved.
Creating a screenshot in Monosnap
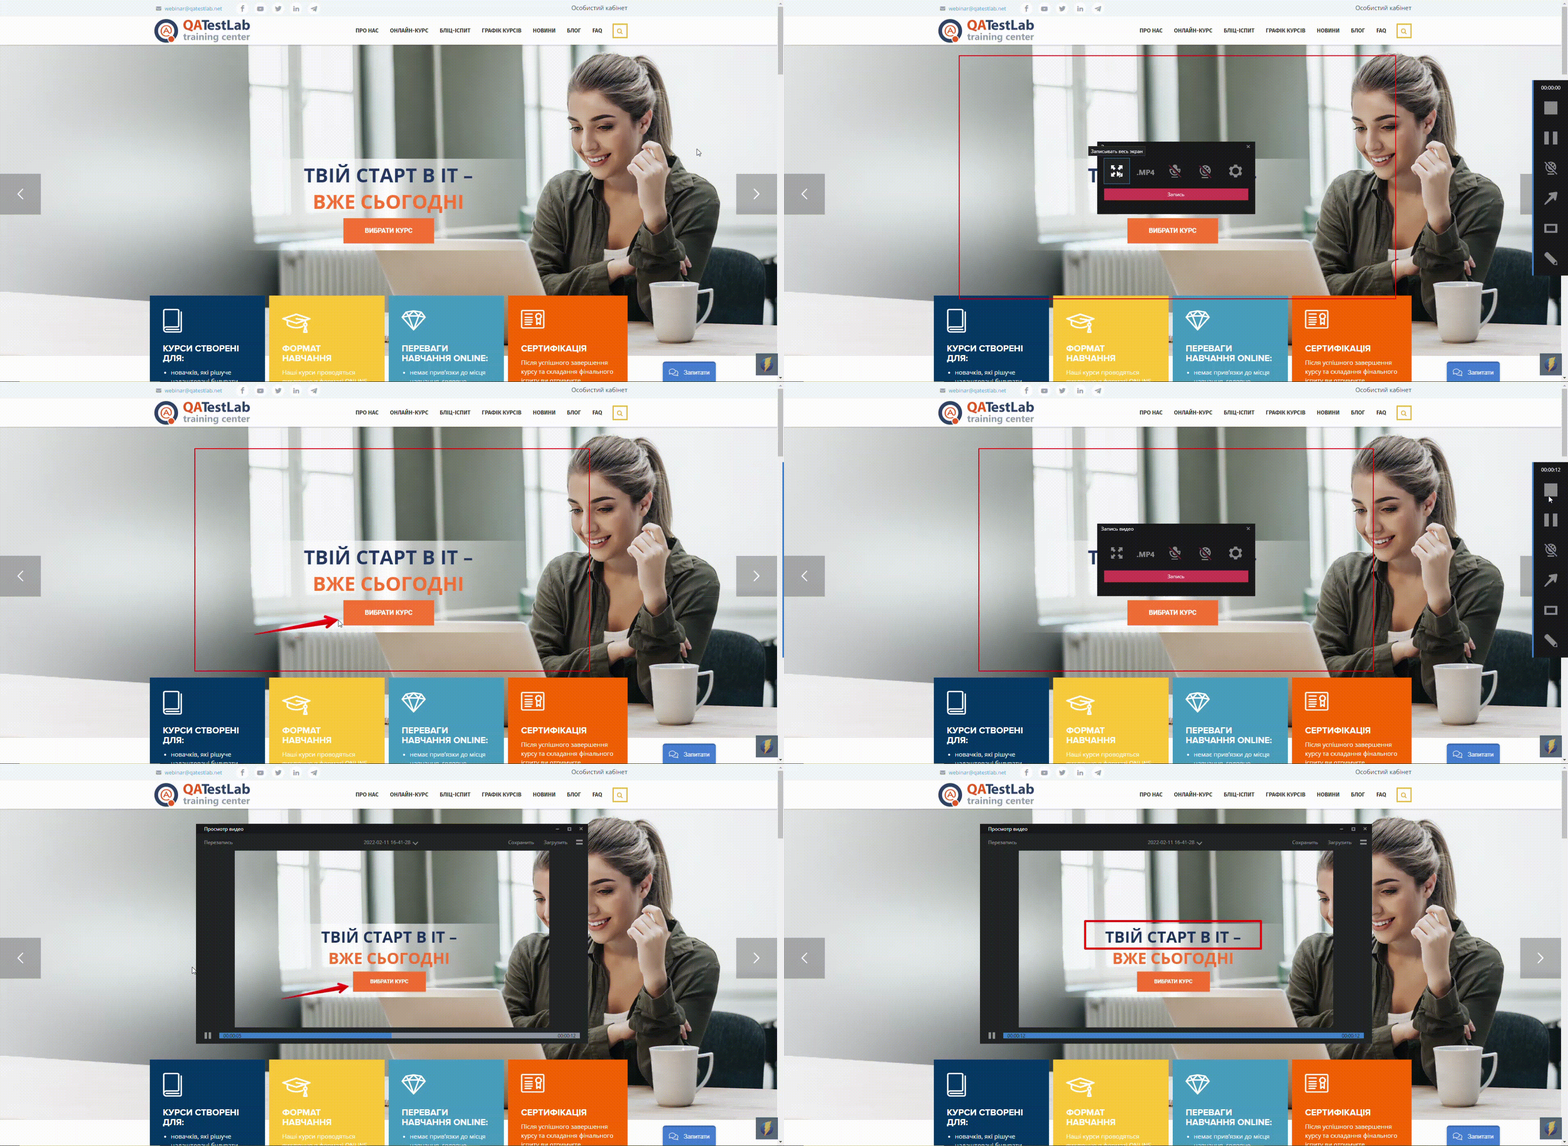
To record a video, click the corresponding button in the menu that opens after clicking the program icon. After that, a menu will be opened where one can change the video recording parameters. When the settings are ready, click the record button. On the right side of the screen during recording, there will be a menu that will appear after hovering over it. It allows you to pause the video recording, and add an arrow and other elements to the video. Below you can see an example of what it looks like.
Recording video in Monosnap
This article has covered the main features of working with common screenshots and video recording programs. Choose the one you like the best and use it to document the bugs you find.


